IoT Cloud
Internet of Things (IoT) server is established in which you can upload your data to the website via ESP8266 wifi module or any equivalent device with upto 16 different wireless nodes. The refresh rate is less than 1 second. When you first register and then login you will get an api_key this will be the unique key on which you will send the data. For complete transfer link you need to login.
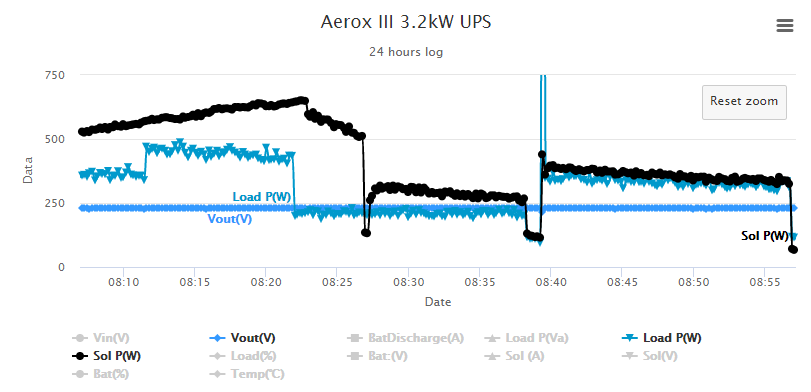
IoT Charts
Upto 16 parameters can be recorded in form of charts, with interval of 11 seconds, the chart is zoomable, clickable and parameters selectable. By default only one parameters is clicked after fully viewing one can click other 16 parameters, maximum 24 hours record is accessible.
Note: As there is huge data so the charts take larger time to load
other features of this chart are
- Convert chart into CSV file
- Convert chart into XLS file
- Convert chart into PNG file
- Convert chart into PDF file
- view in table format
Sample data
How to send data via ESP8266
Normal Mode
Steps to run ESP8266 normal mode
- Connect to Wifi
- Establish a connection using AT+CIPMUX=0
- Establish a connection by sending commands "AT+CIPSTART="TCP","iotalways.com",80
- Send AT+CIPSEND=length of the link
- Then send GET /post.php?api_key=your api key&field1=value&field2=value&field3=value HTTP/1.1\r\nHost: iotalways.com\r\nConnection: close\r\n\r\n
- Repeat steps from 3 to 5 in loop
Passthrough Mode
In Passthrough mode you can send data as faster as you can Sample Code
- Connect to Wifi
- Establish a connection using AT+CIPMUX=0
- Establish a connection by sending commands "AT+CIPSTART="TCP","iotalways.com",80...(establish it only once)
- To enable the passthrough mode send AT+CIPMODE=1
- Send AT+CIPSEND(without length)
- Then send GET /post.php?api_key=your api key&field1=value HTTP/1.1\r\nHost: iotalways.com\r\n\r\n
- Repeat step 6 in loop, no need to establish TCP Connection.
OR (depends on how much data u want to send.. maximum limit is 16, u can send individual or at one time)
send GET /post.php?api_key=your api key&field1=value&field2=value&field3=value HTTP/1.1\r\nHost: iotalways.com\r\n\r\n
Neoway M590 GPRS AT commands
Send the data to IoT web server using Neoway M590 GSM/GPRS Modem Follwo these steps
- once Powered on GSM Modem wait for the string "+PBREADY" it may take upto 20 seconds
- Send AT+XISP=0
- Set APN by sending the commands "AT+CGDCONT=1,"IP","your network APN
- Send AT+XIIC=1
- Send AT+XIIC?... (optional to check IP address)
- Send AT+DNS="iotalways.com" (optional b/c it only shows the ip address which is reuired in the next command, You can use ping or other tools to check IP address)
- Send AT+TCPSETUP=0,116.202.175.87, 80
- Send AT+TCPSEND=0, length of the link
- Then send GET /post.php?api_key=your api key&field1=value HTTP/1.1\r\nHost: iotalways.com\r\nConnection: close\r\n\r\n
- Send AT+TCPCLOSE=0
- Repeat steps from 7 to 10 in loop.
OR (depends on how much data u want to send.. maximum limit is 16, u can send individual or at one time)
Note: For data transfer from hardware to IoT cloud.
- your api key=It is unique key generated when you register an account.
- value=Parameters you want to measure in string or byte.
- length of the link=Calculate the length of complete string from GET to....\r\n\r\n including the values
Realtime GPS Tracking web server
Realtime GPS tracking webserver is established in which you can track your vehicle using GPRS modules. The format of the link includes latitude, longitude, speed in km/h and Vehicle battery voltage.
The steps and AT commands depends upon various GPRS modules however steps of Neoway M590 GPRS Module is given above.
Format of the link
iotalways.com/post.php?api_key=your api key&field1=Latitude&field2=Longitude&field3=Speed&field4= battery voltage
Note: For realtime GPS tracking server only.
- your api key: It is unique key generated when you register an account.
- Latitude, Longitude, Speed: Get these all the parameters from GPS Module. Speed must be in km/h
- battery voltage: Get it using ADC input of microcontroller
Configure Lables and Units
- To add a spane in labels, add "$nbsp" without quotes and press enter key. If you need multiple spaces use same one by one.
- Insert an underline by adding "<hr>" without quotes with the label/unit.
- Change the font color by "<font color="red"> without quotes with the label/unit.
- Change the background color by "<h1 style="background-color= DodgerBlue">" without quotes with the label/unit.
- writing ℃ in units use "℃" without quotes with the unit.